

Compost
Make the most of what you have, especially organic matter. Don’t throw your precious green waste away!
Composting systems don’t have to be large, permanent or expensive. If you are in a rental, it can often be a good idea to keep it small and portable. While bayed compost systems are awesome for large properties where you have plenty of room, composting can be as simple and inexpensive as using a bin with the bottom cut off and dug partly into the ground. A lid that fits snugly is also an excellent idea to keep vermin out.

Simply place your green material into the bin, chopping it up into handfuls will help it to break down more quickly. It is also a good idea to place your bin in a sunny spot as the heat will help to kill weeds and also speed up the process. The bins shown in the above picture cost $12, including the lid. We then cut off the bottom to allow contact with the soil below, to allow organisms to do their thing and any liquids generated to drain directly into the soil. After the bin is full, leave it in place until the organic matter breaks down then simply lift the bin out of the ground and rake the compost into the surrounding garden.
Worm Farms
Again, you can go out an buy a worm farm, along with worms and coir etc but that can easily come to $100. If you are feeling frugal, a basic worm farm can be made from mostly free materials in under 10 minutes.

The worms are a little trickier. Red worms, which are well suited to worm farms, cost about $60 a bag but if you join a good local crop swap there are usually a few gardeners with thriving worm systems who are happy to trade you. You can also get fresh worm ‘wee’ from them which typically contains at least some worm eggs to get you started.
If you have a little more space and budget, some of the best worm farms are made from enamel bathtubs with a door on hinges over the top. The great thing about bathtubs is that they are designed to drain to the plug hole. You will need to mount them into a frame and place a bucket under to collect the worm wee. There are plenty of instructions on how to do this online already but try this one done by Costa: https://youtu.be/vKRsNNVKZRY?si=VnmEUZAxFjreJ_hN
Raised garden beds
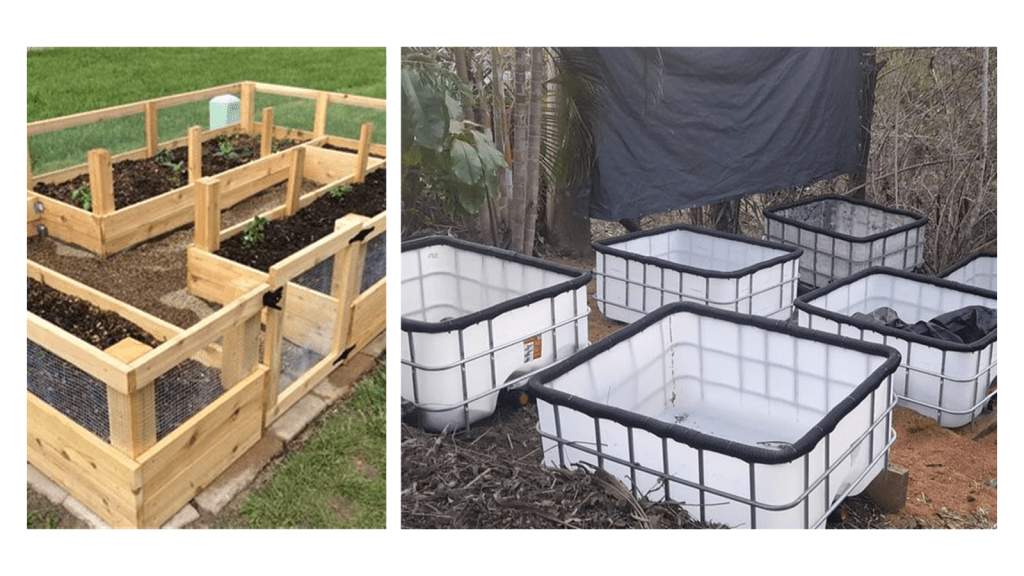
It can be really tempting to dream of beautiful raised garden beds. Many people in rentals opt for IBC wicking beds as they are theoretically portable, however if you ever had to empty one out or attempted to relocate and refill one then you know this is no small task and probably not one you’d like to have to do every 6 months when your lease is up. Instead, start small using whatever materials you can scavenge or get cheaply and easily (often from marketplace).
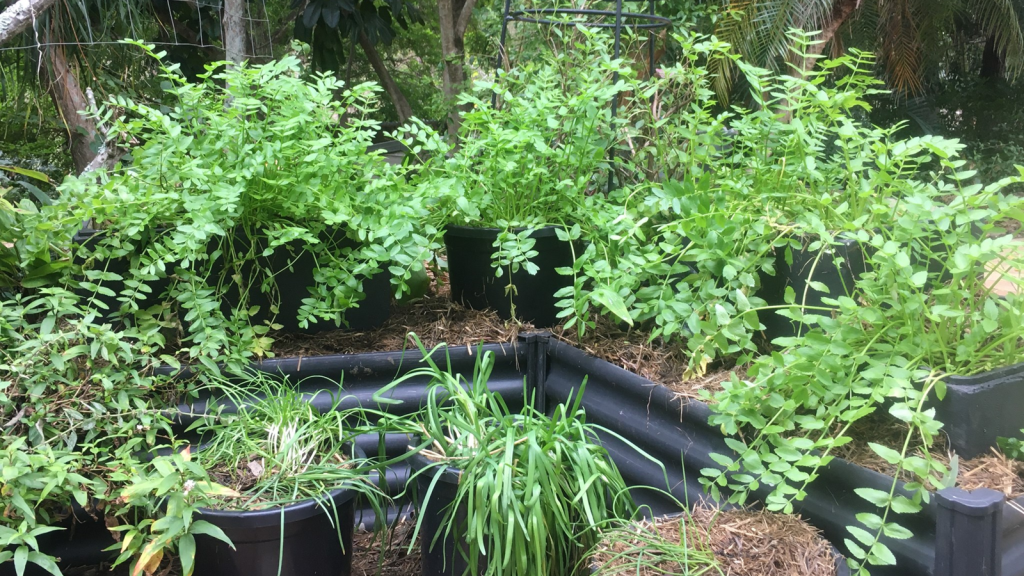
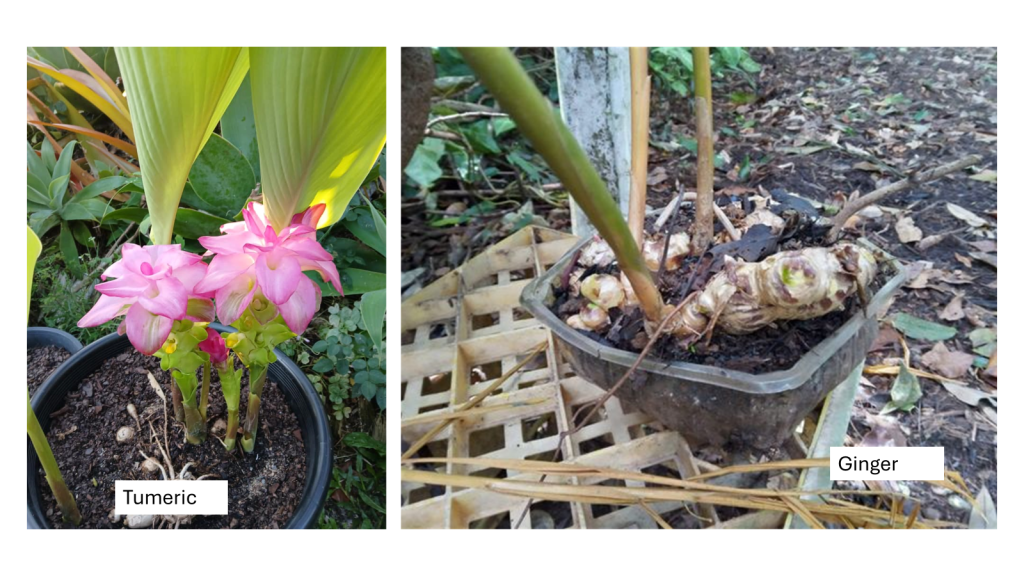
Here are a few ideas made from food grade buckets (often available through marketplace for about $5 each, these ones are being used to grow nettles but tomatoes, potatoes and ginger also thrive in this set-up. You can also use a sheet of roofing tin, bent into a u-shape, just be sure that it has not been painted with led paint (as is sometimes the case with old roofing tin). When placed in a timber frame, easily made from pallet timber, it can be supported off the ground with a collection bucket under one end to catch any water runoff that you can then reuse, saving water and preserving the soil nutrients.

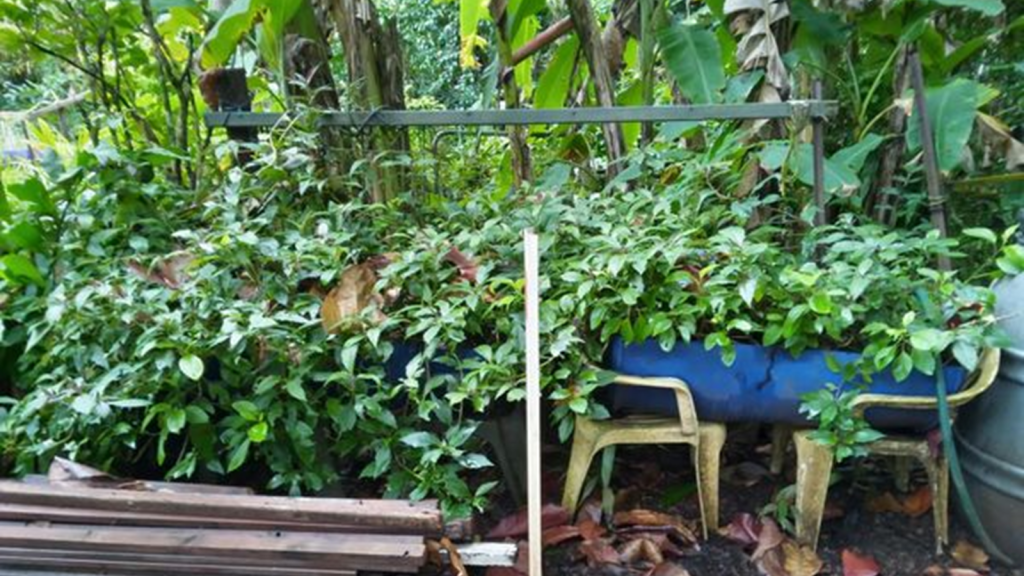
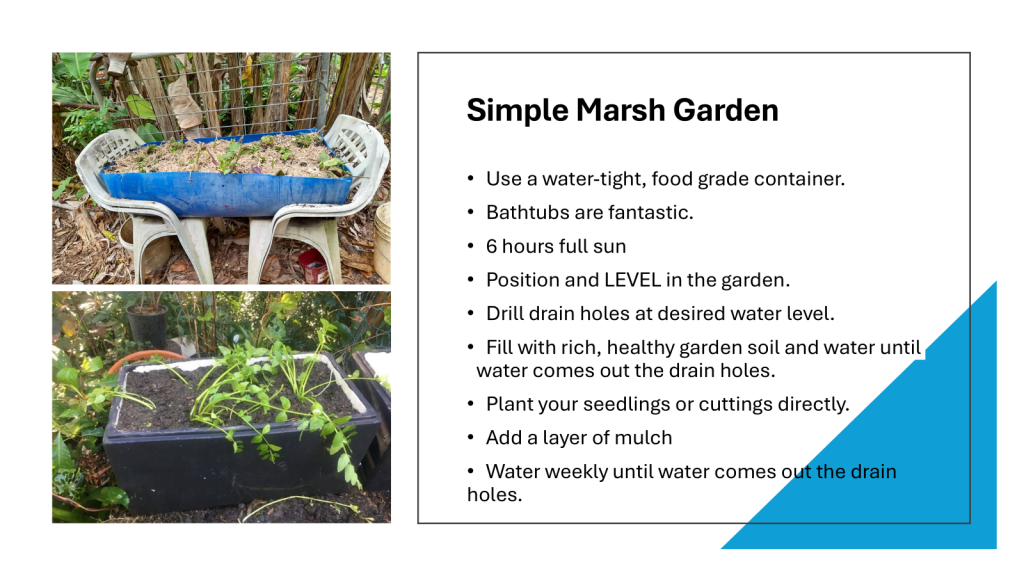
Or simpler still, this example growing Okinawa Spinach, was made from a food grade feed drum cut in half lengthwise and then placed onto a couple of free plastic chairs for support. It won’t last forever but it is infinitely more easily protable then an IBC and it cost less than $10 (minus soil).